Friday, July 29, 2011

Curtains for My Room

I went to Walmart today in search of curtains for my room. Specifically This.
My mom has this shower curtain in her bathroom and it is EXACTLY the color theme of my room. Now my budget for curtains is very small. So, I was hoping to find this for a reasonable price and buy two of them for the wonky sized windows in my room. One window is about 58" x 67" and the other is 36" x 50". Weird, right? I wanted to go with full length curtains hung at the same height (which the windows aren't) to give the illusion of uniformity. I planned on leaving the one full size and cutting it into two panels, and taking about 25"  off the edge of the other and leaving that one as one panel because the window is so dinky. The extra 25" was going to be used to make accent pillows. I don't know if you can see it in the pictures, but the curtains have little tuxedo-shirt-style pleats at the top and bottom, super cute detail! When I got to walmart, there were two in stock, but they were $25 apiece. Not ready to spend that much on curtains that will not fit any other window.
So plan B. Make curtains. Going to cost about $30 for simple muslin curtains with some grossgrain ribbon accents at the tops. Meh.
So Looked at what was available and saw these.
Boring, traditional, but the right color and $10 for the whole setup. That's right. $10. Too good to be true? Naturally. So I buy two of these sets and get them home.
Here's the part where I should mention we live on a busy street and our room faces east. Bleh! We're night owls and do not want to be wakened by the sun (or screaming children, but that's unavoidable.) So I used some fabric that was given to me that is decorating fabric (super thick) and in this shiny brown/gold/redish paisley pattern. Not very pretty. But great for lining windows with. In my office, I lined the windows with this fabric on tension rods, and then put pretty curtains I made over top. If I want to brighten up the room, I just tie back the lining, and the curtains are thin enough that light shines through them very well. So I repeated the process in my room.
Ok, so... Ugly but functional fabric underneath, hang up white curtains with attached valance, and.... too small. Seriously, the dimensions on the package said they would fit my windows, but what they didn't tell you is that you MUST do the look in the picture as each panel is only 27". Grrrrrr.....
So I have repackaged those and put them back in the bag to return. By the way, I don't like returns. But whatever. Live and learn. If it seems too good to be true, it is.

NEXT.....
Started looking online and, lo and behold, the shower cutain I wanted to begin with was only $16.00 online at walmart.com. Hurray!!! I couldn't believe it. I just placed the order for those and will be picking them up when I make my return! So excited! I'll post some pics when I get them in place.

Check out Honey&Fitz for some great ideas on using shower curtains for window curtains. I just Love the chunky striped yellow and white curtains. I did look for some espresso/white striped curtains for my room, but no luck. Will remember for future use.

Friday, July 8, 2011

I finished a Quilt!!!

 I'm super excited! After only about 3 nights working on it, I finished my quilt! But before the reveal, Here are some "work in progress" photos...

 I decided to rotate the directions of the striped fabric to make it a bit more interesting. I worked in rows based on my sketch so that the blocks ended up where I wanted them. I was able to put the quilt top together in one night and I used a temporary adhesive spray to keep the pieces sandwiched together without pins so that I could quilt it. This worked wonderfully compared to using straight pins on my last quilts. I used a high loft polyester batting to make the quilt puffy almost like a comforter and a black flannel backing. I quilted the the quilt in a "stitch in the ditch" method, or, well, I tried to anyways :) Quilting on the machine is the hardest part for me. It's difficult for me to hold onto the bulk of the quilt and fit it all bunched up on the machine when quilting the center. Anyone have any tips for this part of the process?

I made my own binding using the extra flannel from the backing. Since this quilt is for my son, I wanted the back to be softer so I used flannel, even though the quilt top is just regular cotton.

So here it is! Redding really liked it. He was very excited to have a "Thonas comet" (Thomas blanket). I have no idea why he calls blankets "comets". But he sometimes likes to pick his own words for things, but changes eventually to what it's actually called. 
 I really enjoyed making this quilt and am thinking about what patterns I want to use to make Wyatt's quilt in.Oh, the finished size is about 40" x 40". It's a great size for Redding's toddler bed.

Thursday, June 30, 2011

Redding's Quilt

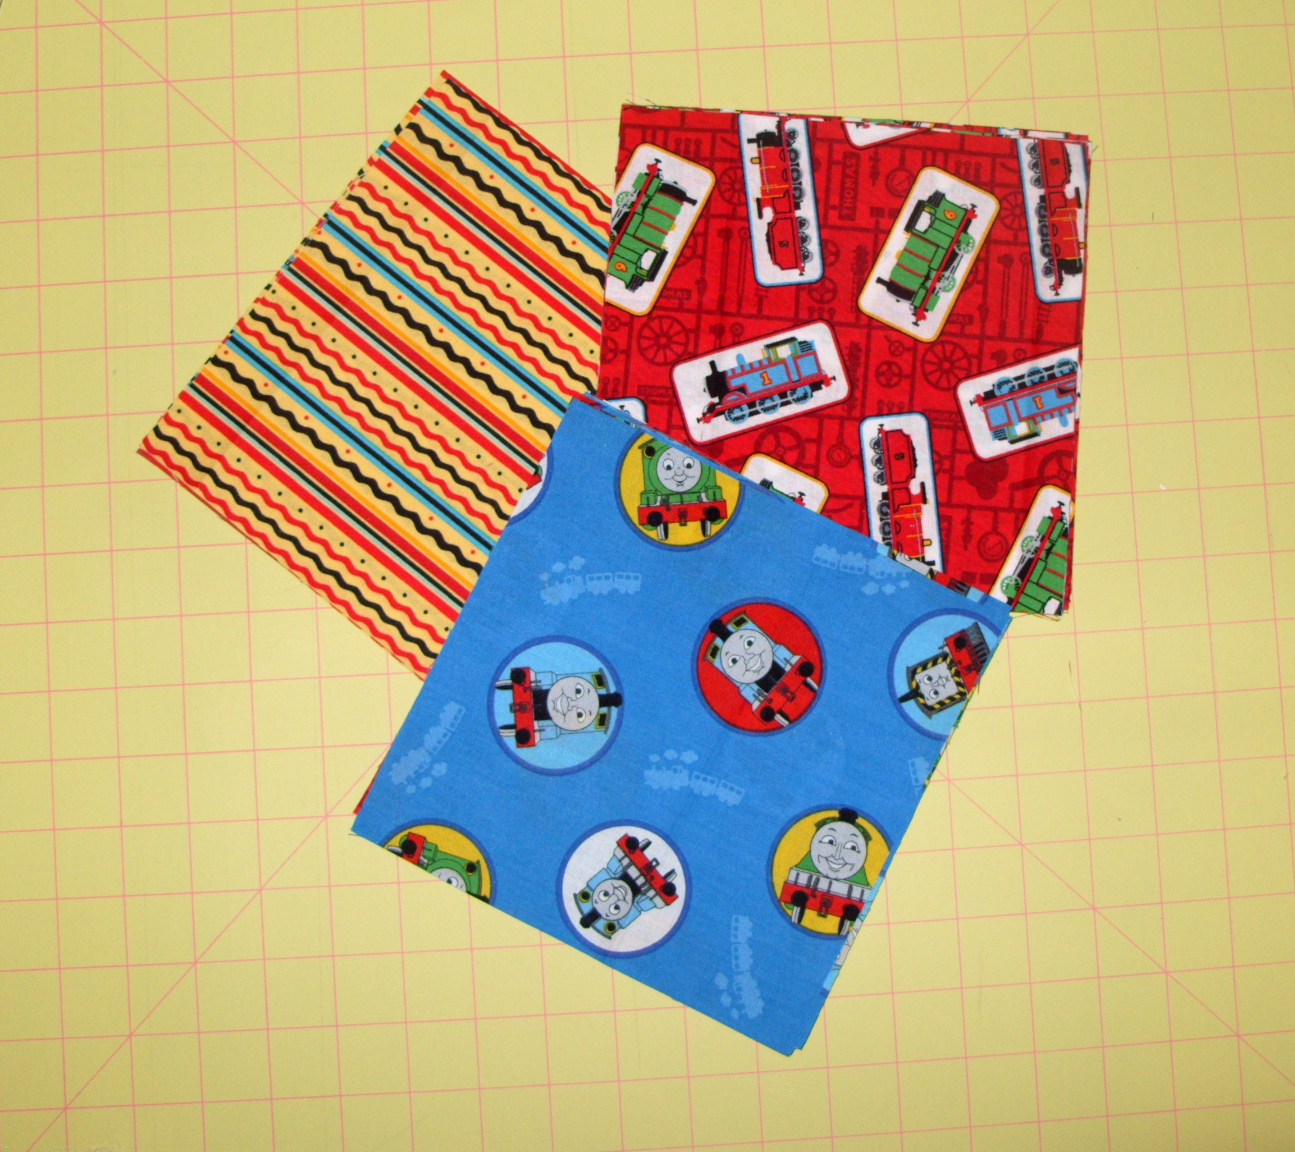
I like to browse the clearance craft section at Walmart and occasionally run across some delicious, too good to pass up deals. This is what I found the other day...

I couldn't have been more thrilled! Redding is absolutely crazy about Thomas the Tank Engine. He can name all the trains and recognize them and tell the different between them even in black and white coloring pages. It's truly crazy. Anyway, this steal was a pack of 7 fat quarters for $5.00-- 3 of the Red print, 2 Blue, and 2 stripes. Now, I'm not in love with the stripes as it reminds me of the kind of fabric used in Jamaican headdresses, but I'm willing to work with it as Redding will really like the bright colors and I think I can still make it look cool. I've settled on doing a basic block quilt, in 7"x7" blocks of fabric, 6 blocks x 6 blocks large. That should give me a finished size of about 40" x 40" with enough fabric left over to crank out a pillow case too hopefully. The prints are large, so I didn't want to take away from them by cutting the blocks too small (I'm also all for finishing this quilt within the next week or so, instead of, well, never). So here's a simple sketch I drew up after playing around a little bit.
I plan on rotating the stripe pieces to make it a bit more interesting, but the prints aren't directional, so there's no need to worry about those. I was able to get everything cut out tonight and will begin piecing tomorrow. I'm not 100% on the backing just yet, but I'm thinking a cozy flannel in black maybe. I think I have enough of this in my stash, so that's part of the appeal :) But it would also offset the bright colors on the front nicely. I'm probably going to go with a "stitch in the ditch" method for quilting in black thread with some accents of free handing around some of the characters within the blocks just to give it a more quilty look. But we'll see. And black 1" binding around the edges probably. I'll keep you posted :)

~ Erin